Dive into the world of DIY projects, and you’ll quickly discover that success hinges on choice—the right tools make all the difference. Among these essential tools, drill bits stand out as pivotal for any renovation or construction task. Particularly, choosing the correct drill bit can transform your project from daunting to doable. With a little knowledge, you can unlock new levels of potential in your home improvement endeavours.
Enter Abracs SDS+ bits—designed specifically for heavy-duty jobs and masonry tasks. These robust bits offer exceptional performance when drilling through tough surfaces like brick, concrete, and stone. Their unique features make them perfect companions for both seasoned pros and ambitious beginners alike. As you read further, you’ll learn how these powerful bits can elevate your skills and pave the way for countless projects ahead. Are you ready to enhance your toolkit? Let’s explore what makes Abracs SDS+ bits an essential part of your DIY journey!
Understanding SDS+ Drill Bits
 SDS+ stands for “Slotted Drive System,” and it refers to a specific type of drill bit shank designed for rotary hammer drills. Unlike traditional drill bits, which rely solely on friction to secure themselves in a chuck, SDS+ bits feature slots that allow them to slide in and out quickly while offering better stability during operation. This unique design enables the drill to impart both rotational motion and percussive force—crucial when working with tough materials like concrete or brick. This means you’ll get the power you need without wasting energy, making your drilling tasks more efficient.
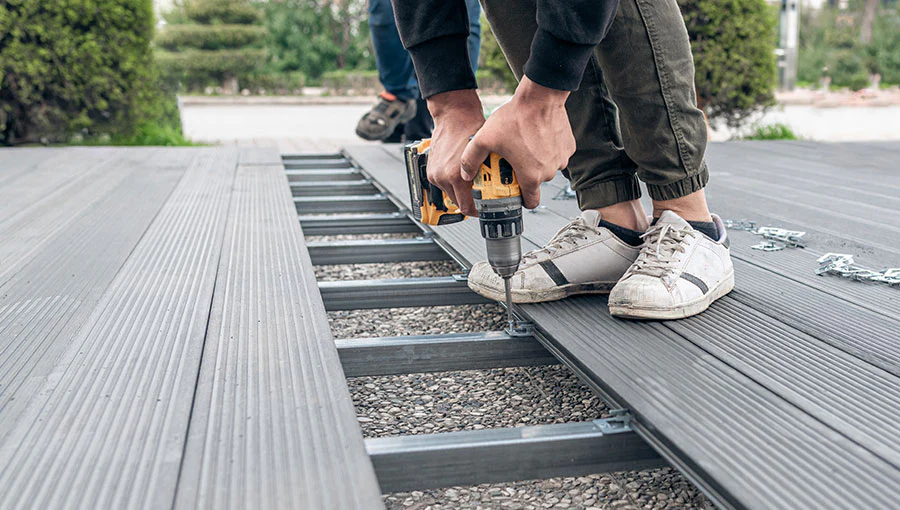
The benefits of using SDS+ bits are particularly noteworthy when it comes to masonry work. Because of their ability to withstand high impact forces, these bits can penetrate dense materials without excessive strain on your tools or body. Whether you’re chipping away at old concrete walls or setting anchor bolts into stone foundations, SDS+ drill bits excel by providing faster drilling with less effort compared to standard masonry bits. For DIY enthusiasts tackling home improvement projects—like attaching shelves to a brick wall or installing fixtures in cement—it’s clear that investing in quality SDS+ bits can simplify even the most daunting tasks.
Common uses for SDS+ drill bits extend beyond mere hole-making; they truly shine in various applications across construction and renovation projects. From creating pathways for electrical wiring through solid walls to enabling the installation of heavy fixtures like shelves or television mounts, these versatile tools empower you as a DIYer. Additionally, because they come in different styles and sizes—from general-purpose masonry bits to specialized chiselling attachments—the possibilities are nearly endless when it comes to effectively using SDS+ technology in your projects.
Understanding the advantages and applications of SDS+ drill bits puts you one step closer to executing successful home improvement ventures. With their greater efficiency and flexibility compared to traditional options, embracing this advanced tool will help unlock your true DIY potential! As you gain familiarity with their various types, you’ll feel more confident tackling challenging projects around your home.
Types of Abracs SDS+ Masonry Bits
When you’re embarking on a DIY project that involves drilling into masonry, understanding the different types of Abracs SDS+ bits available can make all the difference in achieving professional results. The standard SDS+ bit is perhaps the most common choice among DIY enthusiasts. It features a tapered design, allowing for efficient drilling in hard materials like brick and concrete. Ideal for general-purpose use, the standard bit is your go-to option if you’re putting up shelves or installing fixtures. Its spiral flutes help to efficiently remove debris while drilling, making it a reliable companion for various projects.
Another exciting type of Abracs SDS+ bit is the chisel bit, which serves an entirely different purpose. Instead of creating holes, chisels are designed for breaking through tough surfaces or removing unwanted material. This can be particularly useful when you’re working on renovations—say when you want to take down an old wall fixture or create grooves in a solid surface for aesthetic purposes. The sharp edges and robust construction enable these bits to withstand significant impact and stress, adding versatility to your toolkit.
Angled SDS+ bits are also worth mentioning as they cater to specific needs where straightforward vertical drilling isn’t feasible. These quirky little tools allow you to drill at varying angles, meaning you can access tight spaces or awkward positions with ease. Whether you’re running electrical wires through walls or installing shelving in corners where conventional drills can’t reach, angled bits open up opportunities for creativity in your projects. Their unique designs often include adjustable angles enabling precise control depending on the task at hand.
In comparing performance across these different types, it’s important to note that each bit excels under different conditions. For instance, while standard bits offer efficiency in creating clean holes, chisel bits may perform better when considerable force is needed for demolition tasks. Angled bits shine during those tricky installations where precision matters. By recognizing these characteristics and choosing wisely based on your project requirements, you’ll enhance not only your efficiency but also the quality of work delivered by each respective tool.
How to Choose the Right Bit for Your Project
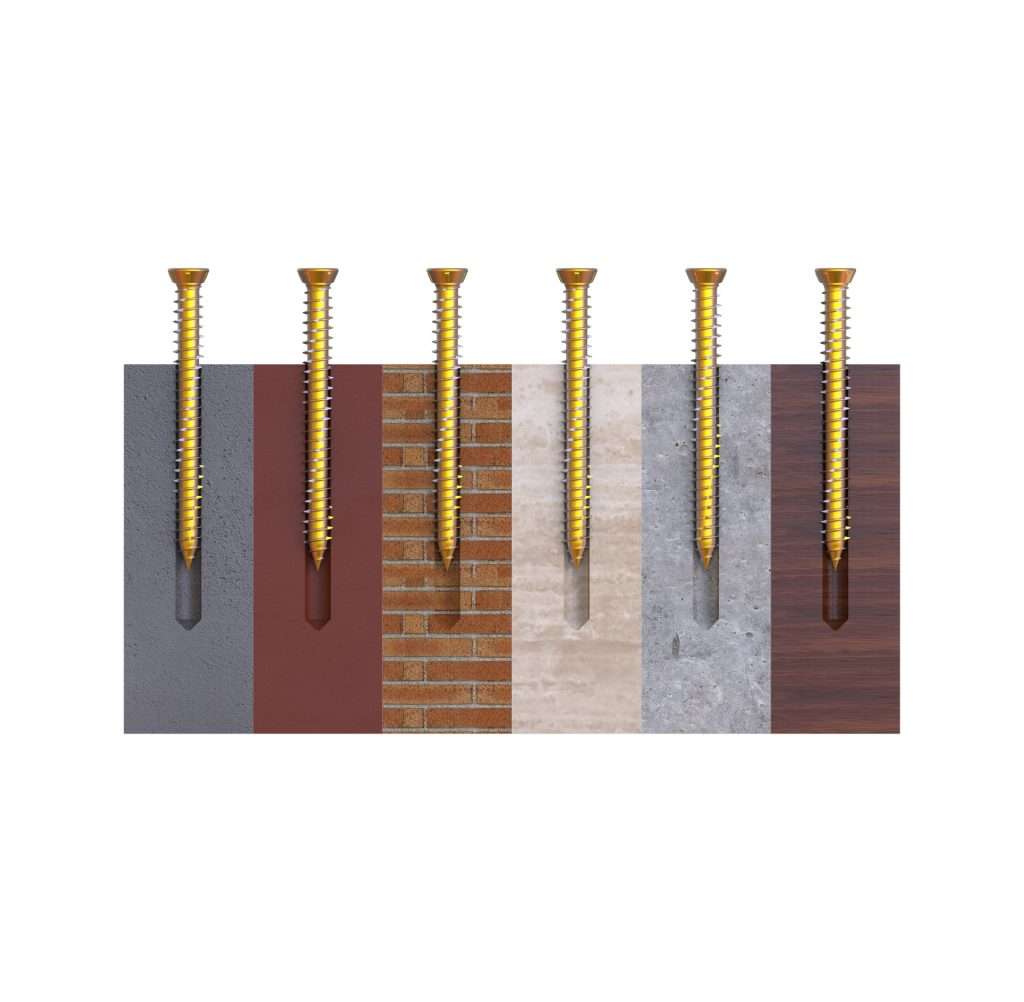
 Selecting the correct Abracs SDS+ drill bit for your project might seem daunting, but a few key considerations can simplify the process significantly. First, evaluate the material you’ll be drilling into—are you working on concrete, brick, or perhaps a softer masonry? Each of these materials requires different types of bits for optimal results. For instance, if you’re installing shelves and need to anchor them securely into a concrete wall, you’ll want to choose a standard SDS+ bit designed specifically for that dense material. Conversely, when dealing with lightweight mortar or bricks, you may look at accessories like chisel bits which can help refine your hole and enable more straightforward anchoring.
Next up is sizing; think about the scale of your project. Larger projects often demand bigger holes, so it’s wise to have various sizes in your toolbox. If you’re working on multiple tasks—from hanging paintings to building outdoor furniture—have a selection that ranges from smaller 6mm bits to larger 16mm options. This ensures versatility without needing an extra trip to the hardware store midway through your workday! In addition, considering depth requirements is crucial—if you’re installing garden foundations or running wires through walls, make sure your chosen bit can accommodate those specifications comfortably.
When matching the bit type with your specific task, don’t hesitate to utilize guides or resources available online. Many DIY enthusiasts find success by reverse-engineering their projects; they start with the intended final result and consider what inputs (like drilling depth and diameter) will lead there. If uncertain about bit selection among various job categories such as demolition or precision drilling, consulting project-centered guides or seeking advice from seasoned professionals can supply valuable insights tailored to current industry practices.
Ultimately, taking time upfront to select the right SDS+ bit not only enhances performance but also elevates satisfaction throughout your DIY journey. By understanding how factors like material type and project specifics influence choice, you’ll set yourself up for successful outcomes rather than frustrating setbacks. So arm yourself with knowledge and make each home improvement task both efficient and enjoyable!
The Role of Bit Size and Length
When it comes to choosing the right SDS+ bit, the size and length you select can greatly affect your drilling efficiency and overall project outcome. Larger bits might seem like a more powerful option for tougher materials, but they can sometimes lead to unnecessary strain on your drill motor and compromise precision. For instance, if you’re attempting to drill through soft masonry for simple shelving, a medium-sized bit will likely suffice while minimizing wear on your tools—allowing you to maintain control and accuracy as you work.
Selecting the appropriate bit length is just as crucial as choosing the correct diameter. For shallow holes in concrete or brick walls, shorter bits may provide better stability and ease of use. Conversely, if your project requires deeper penetration—like establishing deep anchors for heavy shelves—you’ll want to opt for longer bits. The right length ensures that you’re maximizing the effectiveness of each drill stroke without risking damage to either the material or your equipment. Keep in mind that having a collection of different lengths readily available will empower you to tackle a wider range of projects with confidence and ease.
It’s also essential not to underestimate the value of having a variety of sizes on hand. DIY enthusiasts often find themselves facing unexpected challenges during projects; there’s nothing worse than discovering midway that your bit is too large or small for a specific task. By maintaining an assortment of both larger and smaller SDS+ bits—along with various lengths—you can adapt quickly without interruptions and keep your momentum going. This preparedness creates a smoother progression throughout all stages of home improvement endeavours, fostering an enjoyable DIY experience that builds both skill and creativity along the way.
Maintenance Tips for Your Bits
To ensure your Abracs SDS+ bits serve you well over time, establishing a solid maintenance routine is key. After each use, it is essential to clean the bits thoroughly. A simple brush or compressed air can effectively remove dust and debris that accumulate during drilling, especially after working with masonry materials like concrete or brick. Avoid using water as that can lead to rust; instead, just wipe them down with a cloth or use an old toothbrush to keep them in peak condition. Taking these small steps will help maintain their performance and longevity.
Storage plays a vital role in preserving your drill bits too. Keeping them organized and properly stored prevents damage and makes it easy to find the size you need for your next project. Consider investing in a dedicated case or rack specifically designed for storing SDS+ bits; many options also have magnetic strips that hold bits securely in place while keeping them easily accessible. Additionally, avoid jamming multiple bits into one space where they could knock against each other and get nicked – this is particularly important for those delicate cutting edges.
Knowing when to replace your worn-out bits is crucial for maintaining efficiency in your DIY projects. Signs that it’s time for a change include reduced drilling speed or difficulty breaking through even soft masonry materials. Rather than pushing through with blunted tools, which can result in prolonged work times or damage to your drill, it’s better to swap out the bit sooner rather than later. Regularly inspect your bits after heavy-duty tasks—if they show signs of excessive wear, don’t hesitate to invest in new ones so you can keep achieving the quality results you desire.
By following proper cleaning practices, employing smart storage techniques, and recognizing when it’s time for a replacement, you’ll be set up not only to maximize the life of your Abracs SDS+ bits but also enhance the overall experience of DIY projects. Proper maintenance translates directly into improved performance on every job, making it easier—and more enjoyable—to tackle any home improvement challenges you encounter along the way!
Safety Considerations while Using SDS+ Bits
Engaging in DIY projects can be both rewarding and enjoyable, but safety should always take priority. Before you even think about firing up your drill with an SDS+ bit, ensure you’re equipped with essential safety gear. This includes sturdy safety goggles to protect your eyes from flying debris, noise-cancelling earmuffs to shield your ears from the loud drilling sound, and gloves that provide a good grip while safeguarding your hands from small accidents. Steel-toed boots are also a smart choice if you’ll be working on a construction site or around heavy materials; they help to prevent foot injuries in case something falls.
When ocperating drills fitted with SDS+ masonry bits, it is crucial to practice safe handling techniques. Always maintain a stable stance and keep a firm grip on the tool to prevent it from slipping during use. Be mindful of your surroundings—make sure there’s no one within reach of where debris might fall or tools could slip out of hand. Additionally, it’s wise to check for any hidden electrical wires or plumbing before drilling into walls or floors; this simple precaution can save you from serious accidents or damage.
Equally important is understanding the tools you’ll be using. Familiarize yourself with the specific drill and bit specifications, such as rotation speed and torque settings, that best suit the material you’ll be working on. If you’re new to using power tools, don’t hesitate to consult instructional videos or guides related to their operation. Taking time to grasp how each component works will boost your confidence and effectiveness when executing tasks. Remember that every project carried out safely not only safeguards you but also contributes to better outcomes in terms of precision and professionalism.
Ultimately, prioritizing safety enhances not just your personal well-being but also enriches your overall DIY experience. Armed with proper protective gear and knowledge of effective techniques, you’ll engage more confidently in projects that involve Abracs SDS+ bits, opening up new avenues for creativity in home improvement without compromising on health or security.
Frequently Asked Questions About Abracs SDS+ Bits
As a DIY enthusiast diving into the world of masonry, you likely have a few questions about Abracs SDS+ bits. One common concern among newcomers is what exactly makes an SDS+ bit different from standard drill bits. The answer lies in their design. SDS+ bits feature a special shank that allows them to fit securely in an SDS+ drill, providing consistent energy transfer during operation—ideal for tackling tough materials like concrete and brick. Understanding this key distinction sets you on the right path toward choosing the appropriate tool for your upcoming projects.
Another frequent query revolves around how to choose the right size and type of bit for specific tasks. When selecting an SDS+ bit, consider both the material you’re drilling into and the depth of the hole you need to create. For instance, if you plan on installing anchors in concrete walls, opting for a standard percussion drill bit with a suitable diameter will yield the best results. Additionally, remember that using a chisel-type bit can be advantageous when removing larger amounts of material or creating channels—expand your toolbox based on your unique project needs!
If you’re eager to learn more but feel overwhelmed by information, don’t worry! There are plenty of resources available to help demystify masonry work further. Websites dedicated to DIYers often feature tutorials and detailed guides specifically focused on using Abracs products effectively. In-person workshops at home improvement stores can also provide hands-on experience and expert advice tailored for beginners. Engaging with online forums or local community groups can foster discussion where fellow DIY enthusiasts share their insights, tips, and even challenges they’ve faced—all invaluable nuggets of knowledge as you continue building your skills.
Ultimately, asking thoughtful questions is part of becoming more confident in your abilities as a DIYer. By researching thoroughly and seeking help when needed, you’ll empower yourself not just in selecting the right tools like Abracs SDS+ bits but also in tackling increasingly complex projects with assurance and flair!
Empowering Your DIY Journey
In conclusion, choosing the right Abracs SDS+ bits is crucial for successful home improvement projects. These specialized drill bits are designed to make your masonry work easier and more efficient. By understanding their different types and functionalities, you can tackle a variety of projects with confidence.
As a beginner, don’t hesitate to experiment with your new skills! Each project is an opportunity to learn and grow. Remember, as you gain experience, expand your toolkit gradually. Invest in different sizes and types of SDS+ bits to match your evolving needs. Embrace the journey of DIY; every step brings you closer to unlocking your full potential!